Barnblitz/zh-hant
< Barnblitz
Revision as of 11:08, 10 February 2021 by Pai Paint4234 (talk | contribs)
| Barnblitz | |
|---|---|

| |
| 資訊 | |
| 開發者: | {{{map-developer}}} |
| 地圖資料 | |
| 所處地區: | 高山 |
| 環境設定: | 白天, 下雪 |
| 地圖相片 | |
 | |
| 地圖的俯瞰圖 | |
 | |
| “ | Prove that you’re “born in a barn” (secretly in the Mafia) with this Valve-made Payload Map! Show your enemies you can “hit the broad side of a barn” (be really good at the Mafia) while you make them “buy the farm” (quit their Mafia jobs and become farmers) on one outdoor and three indoor capture points (including a final indoor capture point).
— Über Update publicity Blurb
|
” |
Barnblitz 是由Valve製作,在超能更新公布第一天所發布的推車護送模式地圖。這張地圖共有四個檢查點,其中有一個檢查點在室外,另外三個則在室內。穀倉式建築物遍布軌道周圍,和大部分建築物以及紅隊和藍隊的重生室。
內容
位置
檢查點 1
- 重生室和前庭: The exit on the far left takes you behind the cart. The double gates exit allows you to immediately begin escorting the cart. The exit on the far right takes you out into the open under the cover of a large boulder, which makes for a common Sentry Gun placement on the opposite side. The small shed in the middle of the yard provides additional cover and a medium health kit.
- 左方棚舍: The shed to the far left allows you to flank enemies on the snowy platform. Use the boxes beside the ledge to gain access. There is a small ammunition box inside behind some prop crates. There is a small health kit and a large ammunition box behind this shed as well.
- Platform: Engineers usually build on the concrete platform to prevent the cart from approaching the first checkpoint. Use the shed mentioned above to flank them if you can't attack from the bottom of the ramp. From here, you can move into the enclosed area around the first checkpoint or down the rear ramp into the defender's yard.
- Approach: You can pick up a large ammunition box here and/or a small health kit. The risen concrete platform beside the small shed is another good spot for Engineers to build on.
- Checkpoint: This area contains a large ammunition box and a medium health kit. There is a wooden ramp that circles the entire room, which allows players to exit to and enter from the snowy platform. Engineers may build here and hide Teleporters in the small room off to the side.

進攻方(藍隊) 重生室

進攻方(藍隊) 前庭

棚舍

Platform

Approach

Checkpoint #1


Checkpoint 1 to Checkpoint 2
- Defender Yard: You can access the dropdown via the stairs on the left. There is a medium ammunition box before it. There is also a large health kit behind the small shed in the center of the yard. The metal roof on the far right is good for ambushing escorting players coming from the first checkpoint. The platforms in the rear right are useful for defending Snipers. The cliff leading from the snowy platform can be used for a height advantage over enemies in the yard.
- Entrance: The gate at the bottom provides a flank to the next checkpoint. In the distance, a doorway leading from the room below the dropdown as well as the stairs to the upper level can be seen.
- Dropdown: You can either drop down into the room below or attack the defenders from the overlook. The room below this level contains a medium ammunition box and health kit.
- Approach: The flank described above can be seen here on the right. The stairway to the left leads upwards. The checkpoint is visible in the distance. Engineers typically build their Sentry Guns to the right infront of the gate or in the back to the left near the large ammunition box.
- Upper Level: To the left is a set of stairs leading outside and around back of the checkpoint. To the right is the platform overlooking the track. To the rear right is a small corridor with window for surprising the enemy as well as a hole to drop down onto a medium health kit behind the checkpoint. Before this window, there is a medium ammunition box and health kit at the rear of the upper platform.

Defender Yard

Entrance

Dropdown

Approach

Upper Level

Rear


Checkpoint 2 to Checkpoint 3
- Entrance: The doorway into the house leads to a flight of stairs and a medium health kit.
- Second Story: The defender spawn is here when checkpoint 2 is being contested. Turning the corner and entering the doorway marked "capture point" overlooks the tracks. Heading up the ramp leads to the next story. The door underneath the ramp leads to the second story roof.
- Roof: You can immediately access this roof using the overlook underneath the ramp in the second story. There is a wooden ramp leading to and from the ledge or ground near the checkpoint.
- Third Story: You can either drop down out of the doorway onto the roof below or use the dropdown to the left to land on the platform outside. There is a small health kit and large ammunition box here. Attacking Engineers often place their Teleporters here when the Blu Team is capturing the final point.
- Platform: You can access the roof here. There is a large ammunition box on this platform. Below, there is a small health kit along the edge.

Entrance

Second Story

Roof

Third Story

Platform


Checkpoint 3 to Final Checkpoint
There are three entrances to the enclosed area that houses the final checkpoint.
- Left Entrance: The left entrance is quickly accessible from the house roof or platform.
- Main Entrance: This is the entrance the cart takes into the next area.
- Right Entrance: A large opening furthest from checkpoint 3; The hill before it has a large ammunition box and medium health kit.
- Platform: This platform is accessed from the left entrance stairs. There's a small ammunition box and health kit here. The stacks of wood provide cover from enemies on the ground. This platform can be accessed from the ground by its respective ramp.
- Right Entrance Lower: The grate protects players moving through this area from enemy fire. This is a good spot to consider enemy placements before moving into the next area. Defending players should use the grate to anticipate flanking enemies. There is a small health kit here.
- Right Entrance Upper: You can either attack the defenders from the small overlooking platform or return to the outside via the open window. There's a small ammunition box and health kit here.
- Final Checkpoint Left: In the rear left of the last checkpoint is a small ramp and platform. Beneath the enclosed area is a large health kit. There is also a large ammunition box near the support column. The floor declines to a chute which defending players can slide down as well as an doorway to a flight of stairs leading to the platform above. Defenders spawn in the room on this platform.
- Final Checkpoint Right: The defenders arrive out of the rear corridor from another spawn. The cart is dropped and detonated at this point. There is a small health kit beside the boxes along the grate overlooking the right entrance's lower level.
- RED Spawn: Located on the right in the image "Final Checkpoint Left", the RED Spawn has two forms of exit. You can either turn left to the main exit which has a drop near the final checkpoint or take a slide exit (by walking straight), where there is a staircase near their left leading back to the spawn. You cannot go back up the slide.
- Other RED Spawn: Located in the middle of the image "Final Checkpoint Right", this RED spawn consists of a simple room with one exit in front of the players. The final checkpoint is to their left.

Left Entrance

Main Entrance
Right Entrance

Platform

Right Entrance Lower

Right Entrance Upper

Final Checkpoint Left

Final Checkpoint Right


Strategy
Update history
2011年6月23日更新 (Über Update)
- Added Barnblitz to the game.
- Reduced Blue respawn time at cap 1.
- Fixed cart not allowing Overtime when it has to stop at the turn table.
- Fixed players getting stuck in spawn doors when blue captures a point.
- Fixed spawn doors staying open when points are captured.
- Various clipping and exploit fixes.
- [未記載] Added a "Grocket" to this map.
2011年10月13日更新 (Manniversary Update & Sale)
- Made Barnblitz available in Offline Practice mode.
- Fixed a bug that allowed players to get into the opposing team's respawn room.
2011年12月15日更新 (Australian Christmas 2011)
- [未記載] Removed the crashed rocket from this map.
- Updated pl_barnblitz
- Fixed various map exploits.
- Fixed building in the skybox above Red's final spawn
- Teleporters will no longer self destruct when used on the battlements near Blu's first spawn
- Fixed an exploit related to the final control point and dropped weapons on Badwater Basin, Barnblitz, Borneo, and Gold Rush.
- [未記載] Added saucers and posters to Barnblitz.
- [未記載] Removed Saucers and Posters from all maps.
Trivia
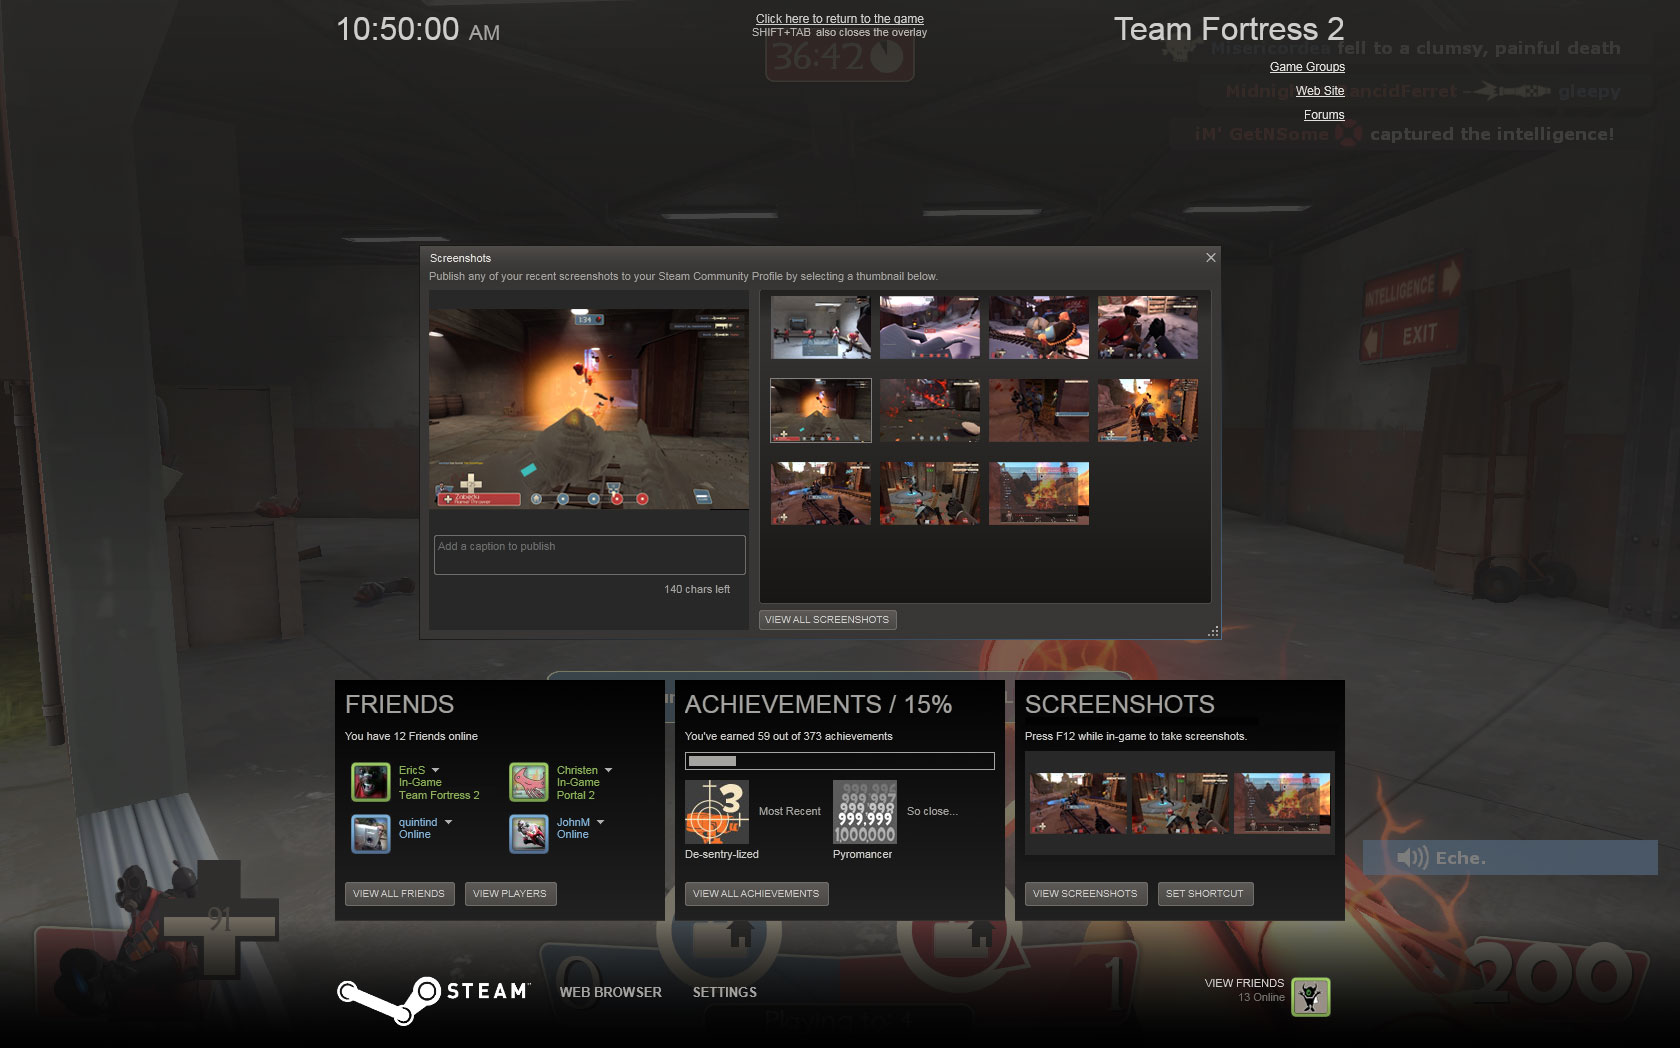
- Official, password-protected Valve servers were running development versions of Barnblitz months before its official announcement.
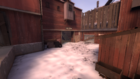
- Barnblitz was later leaked in a promotional image for Steam's screenshot feature.[1]
References
| |||||||||||||||||||||||||||||||||||||||||||||||||
/LANGUAGE